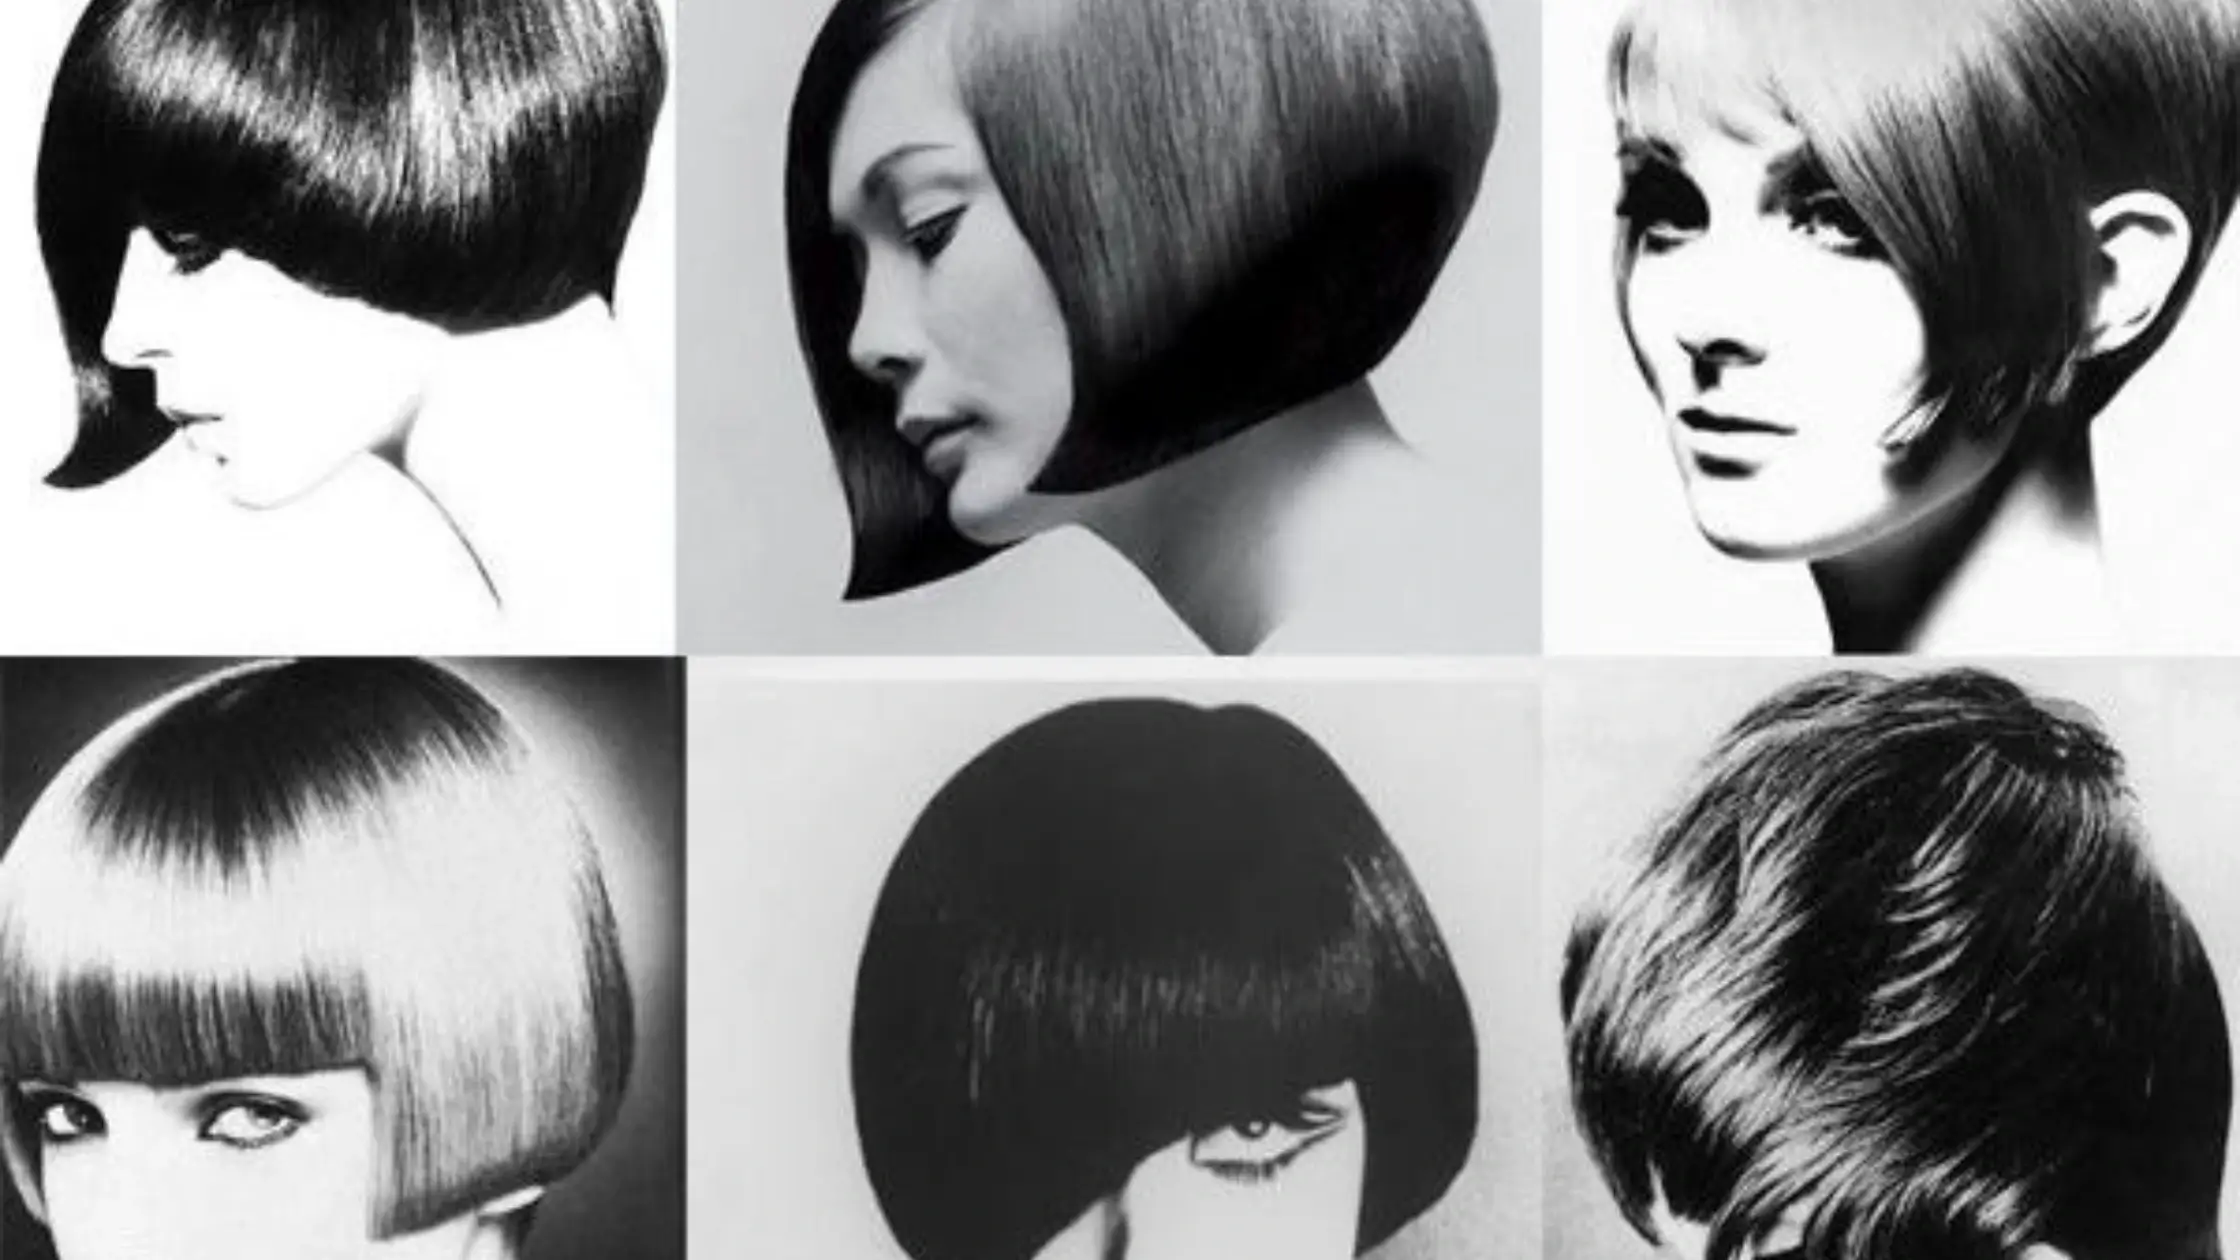
Sporting a hairstyle from the 1960s might just be the most stylish way to elevate your look and pay homage to some of the most iconic hairstyles in history. The ’60s were all about voluminous hair, stunning updos, and playful styles that captured everyone’s attention. By investing a little time in learning and practicing, you can infuse your contemporary style with a touch of ’60s flair.
In this article, we will guide you through some easy-to-follow 1960s hairstyle tutorials that even beginners can master. We will cover a range of styles to help you achieve the perfect vintage look, whether it’s for a themed event or just to express your inner retro goddess. Let’s get started on our journey back to the swingin’ ’60s!
The Swinging Sixties and Hair Transformations
The 1960s was a time of incredible fashion and hair evolution. Hairstyles captured the essence of the vibrant and transformative decade, with iconic styles such as beehives, bouffants, and flips taking center stage.
One of the most famous hairstyles of the 1960s was the beehive, a look that is still popular today. To create the perfect beehive, you’ll want to start by backcombing your hair for volume and teasing it into shape. Remember to use plenty of hairspray to hold everything in place!
Another popular hairstyle during this era was the high flipped ponytail, a chic and effortless look that showcased the neck and elongated the face. This style can be achieved by creating a high ponytail, curling the ends, and then using a paddle brush to flip the ends upwards. Secure the flip with hairspray, and you’ll have a retro-chic look in no time!
Of course, we can’t talk about 1960s hairstyles without mentioning the iconic Twiggy pixie cut. This haircut featured short, choppy layers with side-swept bangs and exuded confidence and individuality. It continues to be a popular style today, with celebrities like Emma Watson and Zendaya rocking their own modern interpretations of the classiccut.
Finally, let’s not forget about the soft curls of the 1960s, which provided an elegant, timeless look that dominated red carpets and formal events alike. You can achieve this hairstyle by using a large-barrel curling iron or hot rollers, then brushing out the curls for a soft, romantic finish. A vintage 1960s hairstyles tutorial can help you achieve this graceful glamour.
In conclusion, the swinging sixties brought about a variety of memorable and revolutionary hairstyles that continue to inspire today. From the beehive to the pixie cut and beyond, these styles capture the essence of a bright and bold era. We hope our guide on 1960s hairstyle tutorials helps you recreate and rock these iconic looks!
Tools Required for Creating 1960s Hairstyles
Here you go with the essential tools you’ll need to recreate some classic and fashionable looks from that era. With these tools on-hand, you’ll be ready to bring back the glamour and flair of the ’60s.
1. Hair rollers and curlers: These are crucial for creating the soft curls and defined waves that were popular in the ’60s. Choose foam or Velcro rollers, as well as hot rollers or curling irons, depending on your preference.
2. Sectioning clips: When working on a 1960s hairstyle, it’s essential to divide the hair into different sections for added convenience. Sectioning clips help manage and separate hair while styling.
3. Rat tail comb: This type of comb has a long, pointed handle and fine-toothed comb. It’s perfect for creating precise partings, backcombing for volume, and teasing hair before setting with rollers or curlers.
4. Smoothing brush: A natural boar bristle brush or a brush with mixed bristles is essential for smoothing out tangles and polishing your vintage hairstyle.
5. Setting lotion or hair mousse: These products provide the necessary hold and structure, helping your hairstyle last longer and maintain its shape.
6. Hair spray: Choose a strong-hold hair spray to lock your ’60s hairstyle in place and ensure it stays in shape throughout the day.
7. Bobby pins and hairpins: You’ll need these to secure your hairstyle, especially for looks like the classic bouffant or updos featuring intricate twists.
8. Hair bands or ribbons: These can be used to accessorize your hairstyle and add a touch of authenticity to your ’60s look.
With these tools and products in your arsenal, you’re well on your way to achieving the perfect 1960s hairstyle. Now, all that’s left to do is practice, practice, practice, and enjoy your glamorous retro transformations!
Preparation for Hairstyling
Welcome to our 1960s hairstyle tutorial! We now will guide you through the preparation process to help you achieve that perfect vintage look.
First things first, it’s important to start with clean, dry hair. We recommend using a gentle shampoo and conditioner suitable for your hair type, and then a heat protectant spray before using any heat tools. This will help maintain the health of your hair while giving the style a strong foundation.
Next, you’ll want to gather all of the necessary tools and accessories. For most 1960s hairstyles, you’ll need a comb, a teasing brush, hairspray, hair clips, or bobby pins. If you’re going for a more voluminous look, you’ll also want to have a curling iron or hair rollers on hand. By having everything you need within reach, the styling process will be much smoother and more efficient.
With your hair prepped and tools ready, it’s time to decide on the specific 1960s hairstyle you’d like to create. Some popular options include the following:
- Soft Curls: A classic vintage style with bouncy, defined curls. Perfect for short to medium hair lengths.
- Bouffant: A voluminous updo often paired with a headband or teased crown area. Works great on medium to long hair.
- Pixie Cut: A sleek, mod look popularized by Twiggy, which can be easily achieved with a straightening iron and some shine pomade.
- Mop Top: A Beatles-inspired haircut characterized by a fuller bang and straight, even length around the head.
Now that you’ve chosen your desired 1960s hairstyle, it’s time to get started! As you follow our tutorial, remember to be patient and gentle with your hair. The key to achieving that perfect vintage look is practice and dedication. So, let’s dive in and start styling!
Perfecting The Beehive
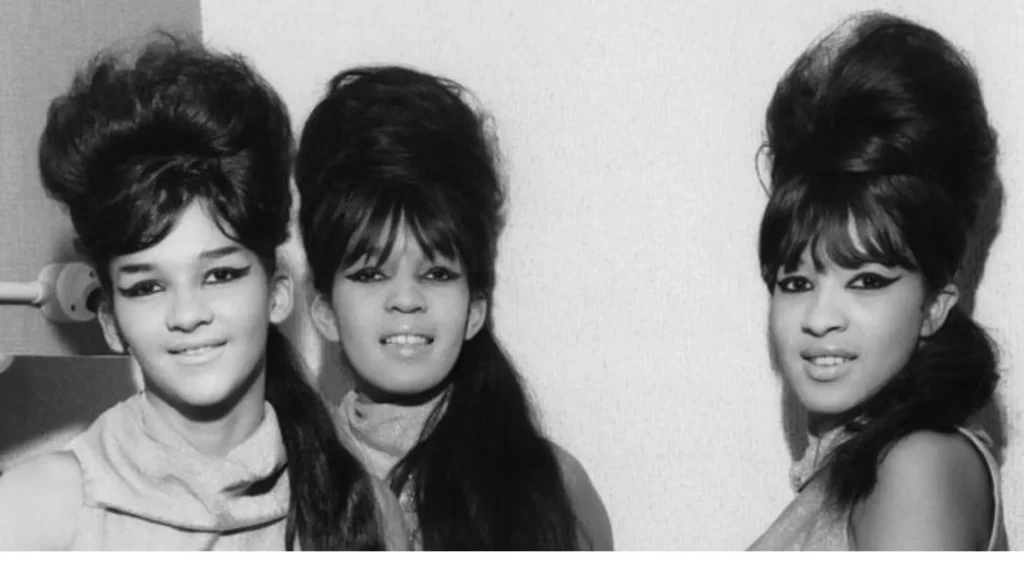
First and foremost, ensure that your hair is ready to create volume. It is easier to work with hair that is slightly dirty, as it provides more hold. If you prefer clean hair, use a hair serum to give it that extra grip.
After prepping your hair, it’s time to begin the actual styling process. Start by sectioning your hair and teasing it. This step is crucial, as it adds the desired height and volume to your beehive. For a detailed step-by-step guide on teasing, you can refer to this video tutorial.
Once you have teased your hair, gently comb it back to ensure a smooth and polished look. Be careful not to remove too much of the created volume.
Now it’s time to secure your beehive. Using bobby pins or hairpins, pin your hair in place to maintain the structure of your beehive. You can also use hairspray, like TRESemmé Compressed Micro Mist Boost Hold Level 3 Hair Spray, to keep your hair in place and provide a firm hold throughout the day.
Lastly, don’t forget to accessorize! Add a touch of elegance with pearls, a vintage hairband, or a pretty hair clip to elevate your beehive to new heights.
And that’s it! With these simple steps, we hope that our 1960s hairstyle tutorial helps you perfect the classic beehive look. Remember to take your time and practice to achieve the best possible result. Happy styling!
Bouffant Glamour
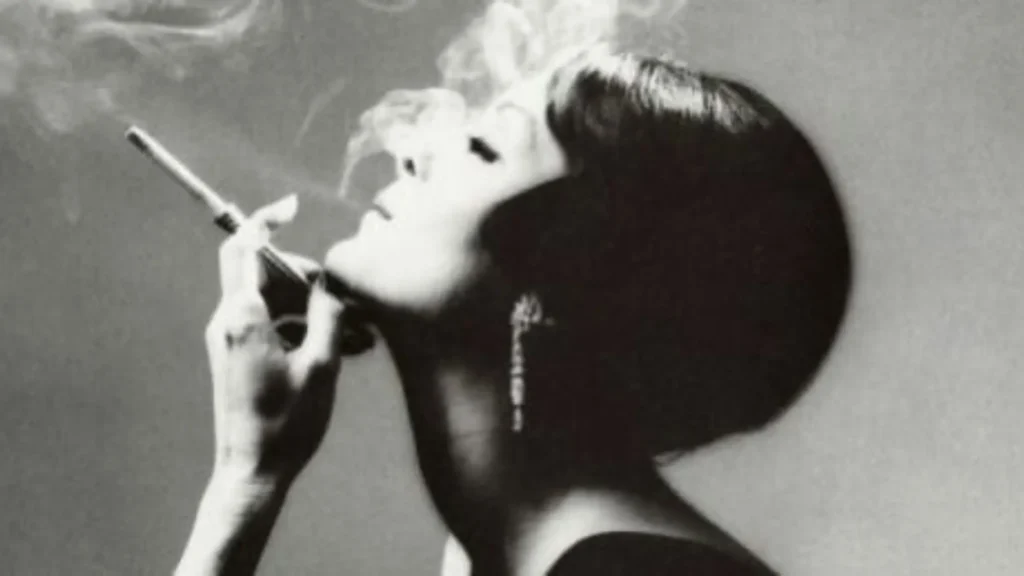
Next up we will create the iconic Bouffant Glamour look that defined an era. This timeless hairstyle is perfect for special occasions or just whenever you’re feeling a little retro fabulous!
To achieve the perfect bouffant, you’ll need a few tools and products such as a teasing comb, hair spray, a curler, and bobby pins. And don’t worry, we’ll walk you through the process step by step!
First, shampoo your hair and towel dry it. Once it is completely dry, use the curler to give your hair some very loose curls. This will add volume and help with styling. Now comes the fun part, teasing! Take the front section of your hair and tease it until it’s fluffy. Basically, backcomb the front section of your hair in the crown area. The more you tease, the higher your bouffant will be.
After teasing, gently smooth the hair back, being careful not to flatten your volume. Use the comb to shape the bouffant and secure it with bobby pins where necessary. To ensure your bouffant stays in place all day or night, generously spray hairspray all over the teased section.
As for the rest of your hair, you have a few options. You can leave it down, or for an elegant touch, style it into a half-updo, twist, or chignon. Whichever you choose, don’t forget to spray with hairspray for hold.
Remember, practice makes perfect, so don’t get discouraged if your first attempt isn’t flawless. The more you try, the better you’ll get at creating this iconic 1960s hairstyle. Have fun and enjoy your bouffant glamour!
Creating Bob Cuts
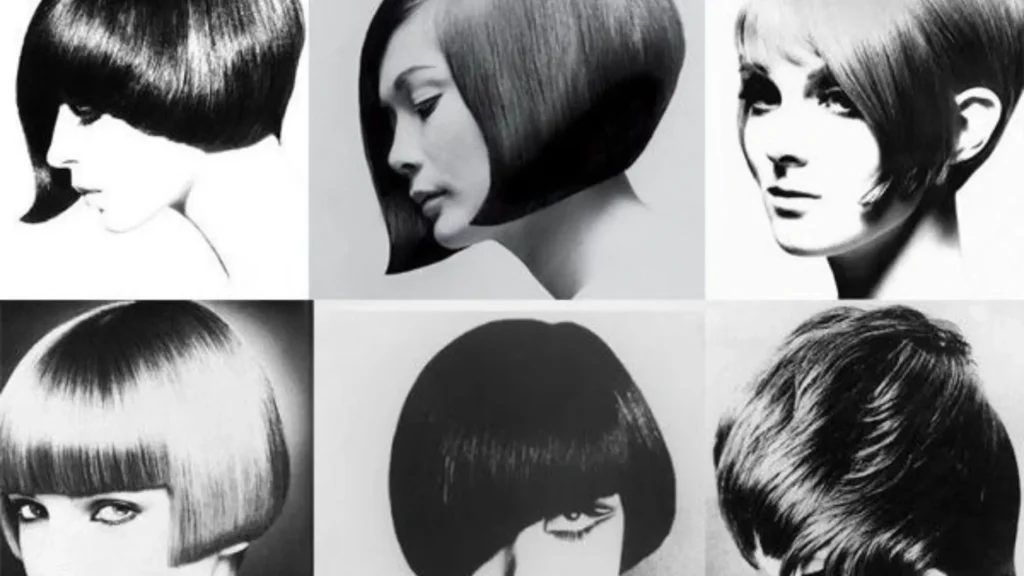
Now we’ll take you on a journey back in time to explore one of the most iconic styles from that era – the Bob Cut. The 1960s were filled with revolutionary fashion and hairstyles, most prominently featuring the famous Bob Cuts, which took the world by storm. So, let’s dive into the world of 1960s Bob Cuts and learn how to create them.
The Bob Cut saw its peak moment in the 60s, thanks to hairdresser Vidal Sassoon who revolutionized the cut with the A-line bob. This timeless style became a favorite among stars, actresses, and fashionable women of the era. In order to create an authentic 1960s Bob Cut at home, you’ll first need to gather the following tools and products: a comb, scissors, hair clips, and styling products such as smoothing shampoo or hairspray.
Begin by washing your hair with a smoothing shampoo, such as Suave Professionals Avocado + Olive Oil Smoothing Shampoo, and conditioning with a matching conditioner. Once you’ve prepared your hair, create a side or middle parting and trim your locks to the desired length for your Bob Cut. The key to a perfect 1960s Bob Cut is keeping the length above your shoulders, and ensuring a graduated shape that gives the illusion of more volume.
For added body and texture, you can curl your hair using the on-base curl technique as mentioned by celebrity hairstylist Kenneth. Simply pull the top sections forward before rolling them back and the side sections up before rolling them down. To smooth the ends and prevent hooking, use end papers (wraps) while curling.
Finish off your stunning 1960s Bob Cut with a spritz of hairspray, such as Dove Style+Care Compressed Extra Hold Hairspray, to keep everything in place. You’re now ready to rock your stylish Bob Cut, straight from the groovy era of the 1960s.
Flipped Coif Tutorial
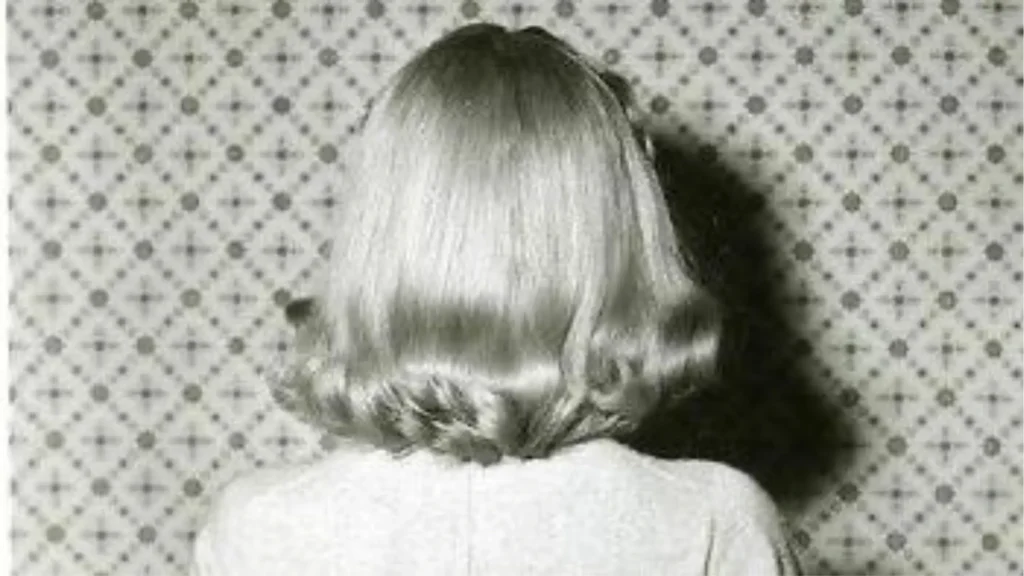
The flip hairstyle was quite popular during the ’60s and, with just a few simple steps, you can achieve this timeless look in no time.
First, you’ll need to start with clean and dry hair. Make sure your hair is well-brushed and free of any tangles or knots. If you have naturally straight hair, you’re in luck – the flip hairstyle works best with straight hair. If not, you can use a flat iron to straighten your locks before starting the tutorial.
Next, create a deep side part on one side of your head, about two inches from the center. Then, working in sections, begin to curl the ends of your hair inwards, using a curling iron or hot rollers. Make sure to curl the ends in the same direction to achieve a uniform look. Once all of your hair has been curled, gently run a comb through the curls to blend them together and create a smooth, flipping motion at the ends.
To add volume to the crown of your head, you can use a teasing comb or brush to gently backcomb the roots of your hair, working from the crown down towards the nape of your neck. After teasing, use a smoothing brush to gently brush the top layer of hair back into place, making sure not to disrupt the volume you’ve created underneath. For an extra touch of glamour, you can add a stylish hair accessory, like a headband or hair clip, to accentuate your side part.
Finally, make sure your flipped coif stays in place all day long by generously applying a hairspray with strong hold power. This will ensure that your 1960s-inspired hairstyle stays looking fabulous and helps you channel your inner Jackie Kennedy or Mary Tyler Moore.
And there you have it – a beautiful flipped coif inspired by the iconic 1960s hairstyle! With just a few tools and some practice, you too can achieve this retro-chic look and have your hair be the talk of the town.
Pixie Style Guide
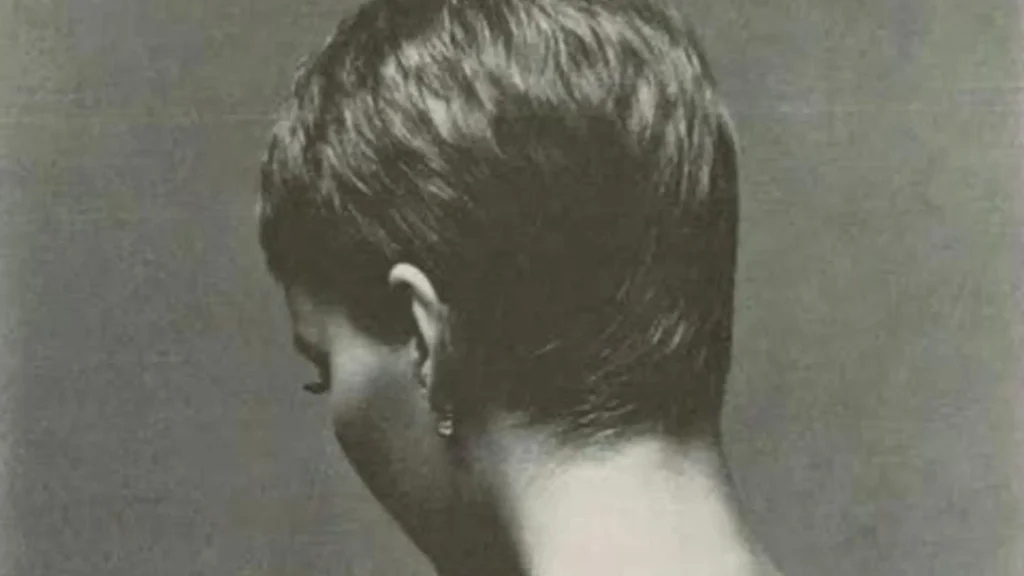
The next hairstyle we will be focusing on is the iconic Pixie Style! This haircut gained popularity during the ’60s, thanks in part to British model Twiggy, who turned heads with her sleek, androgynous Pixie crop. So, let’s jump in!
First and foremost, ensure that your hair is clean and dry. We recommend using a shampoo and conditioner that is suitable for your specific hair type. For instance, if you have frizzy or coarse hair, consider using smoothing products like Suave Professionals Avocado + Olive Oil Smoothing Shampoo.
Once your hair is clean and dry, it’s time to section it. Creating a side part works great for this vintage-inspired look. Use a fine-tooth comb to create a distinct parting, and then comb your hair to either side, ensuring it lays flat.
Next, we will focus on the trimming. If you’re not a professional hairstylist, it’s best to visit a local salon to get the perfect Pixie cut. Describe the desired outcome to your hairstylist and share reference images if needed. Keep the length on top slightly longer than the sides, which should be cropped close to the head. This balance provides a true 1960s vibe.
Once you have the perfect Pixie cut, styling is relatively easy. To style your short, chic hairdo, start by applying a small amount of mousse or hair gel to the roots of your hair. This will help give it some lift and volume. Next, use a round brush and a hairdryer to blow-dry your hair, shaping it towards the side part. Don’t forget to gently brush the hair at the crown upwards for that classic ’60s height.
Finally, to maintain your Pixie Style throughout the day, use a hairspray with a strong hold. You can use Dove Style+Care Compressed Extra Hold Hairspray to keep your hair in place and to enhance its overall appearance.
There you have it! Now you know how to create your very own 1960s Pixie Style. With a little practice and confidence, you’ll be rocking this timeless look in no time. Happy styling!
Our Opinion On 1960s Hairstyles
Immersing ourselfs in the world of 1960s hairstyles for this tutorial has been nothing short of a nostalgic journey. There’s an undeniable allure in the glamour of the ’60s, and exploring the diverse range of hairstyles from that era has been a delightful experience. Personally, what we find most captivating is how many of these iconic looks continue to resonate with modern fashion trends. The radiant spirit of the ’60s, reflected in the hairdos of the time, seems timeless, and it’s fascinating to witness the enduring influence of these styles in today’s ever-evolving fashion landscape. The versatility and creativity that characterized 1960s hairstyles are, without a doubt, a testament to their enduring appeal.
FAQ – 1960s Hairstyles Tutorial
How did people do the 60s hair style?
In the late ’60s, long hairstyles gained popularity, often worn middle-parted with curled ends or half-pulled back in a bouffant. The hippie trend popularized long hair with bangs below the eyebrows.
What hair color was popular in the 60s?
Surprisingly, the 1950s and 1960s embraced daring bright hair colors like blue, pink, lavender, and aqua. Alternative hues were more common than often remembered during this period.
Why was hair so big in the 60s?
In the Civil Rights Movement, natural hair and afros symbolized African American pride. Hair challenged gender norms with pixie cuts for women and longer styles for men. Styles embraced fullness, length, big curls, and volume as expressions of identity.
What was most common hairstyle in 1960s?
Long hair in the late ’60s was styled middle-parted, curled, or half-pulled back with a backcombed bouffant. The hippie trend popularized long hair with bangs below eyebrows. Medium hair embraced rounded bouffants and curled bobs as go-to looks.
Related Articles:
If you liked this blog post about the topic: “1960s Hairstyles Tutorial”, don’t forget to leave us a comment down below to tell us about your experience with it.
